Prepping for My First Market
Earlier this fall, I started to feel a bit frustrated not getting the reach I wanted online. I have such a passion for creating and want to share those creations with as many people as possible. I thought a great way to start taking it offline was to do a market.
I was initially inspired by The Tiny Farmer’s Market, a monthly market hosted in Austin, Texas in the owner’s front yard. I’ve also seen other artists host galleries in their yards and share their work. Originally, I wanted to host my own front yard market and reached out to the town, but unfortunately, my town did not allow it.
So I started looking into market options that would be local. I figured I’d want to be able to have as many friends and family as possible to come to my first market to help calm my nerves. I remembered there being some markets at the Fanwood Train Station before, so I started by googling that. This was back at the end of September, so I had about a month to prepare. I officially signed up and instantly started brainstorming and researching to figure out my set up.
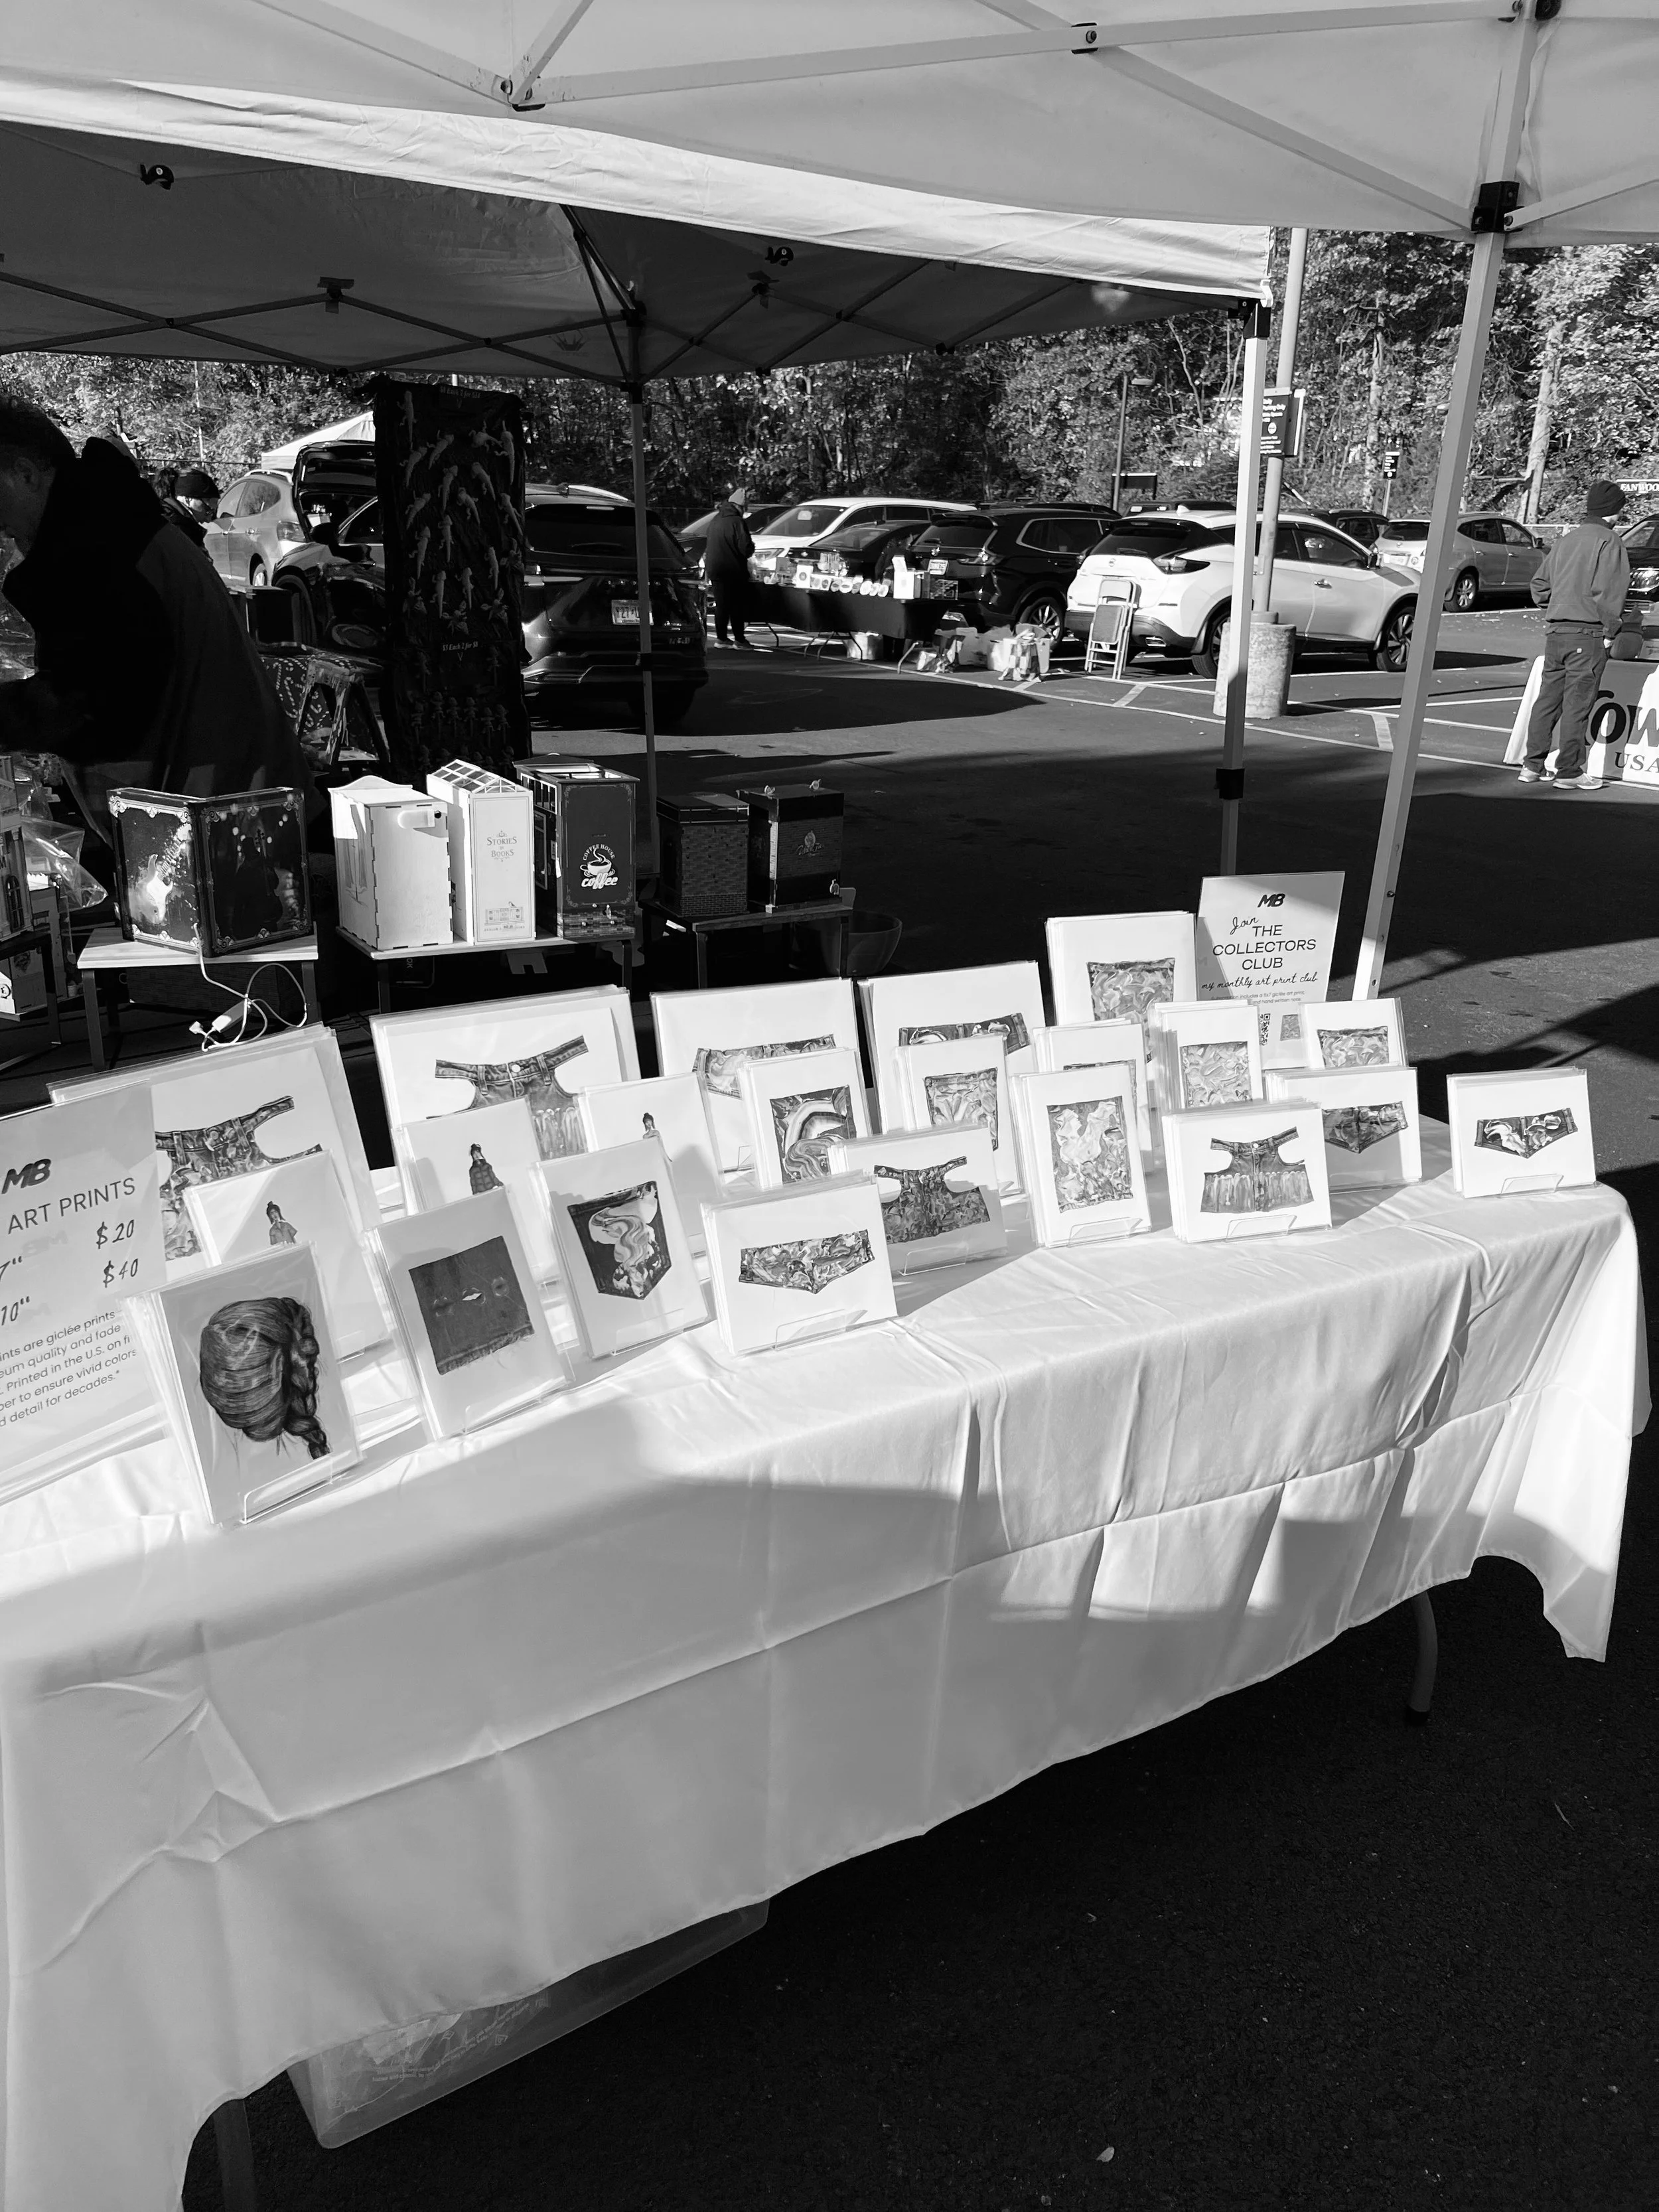
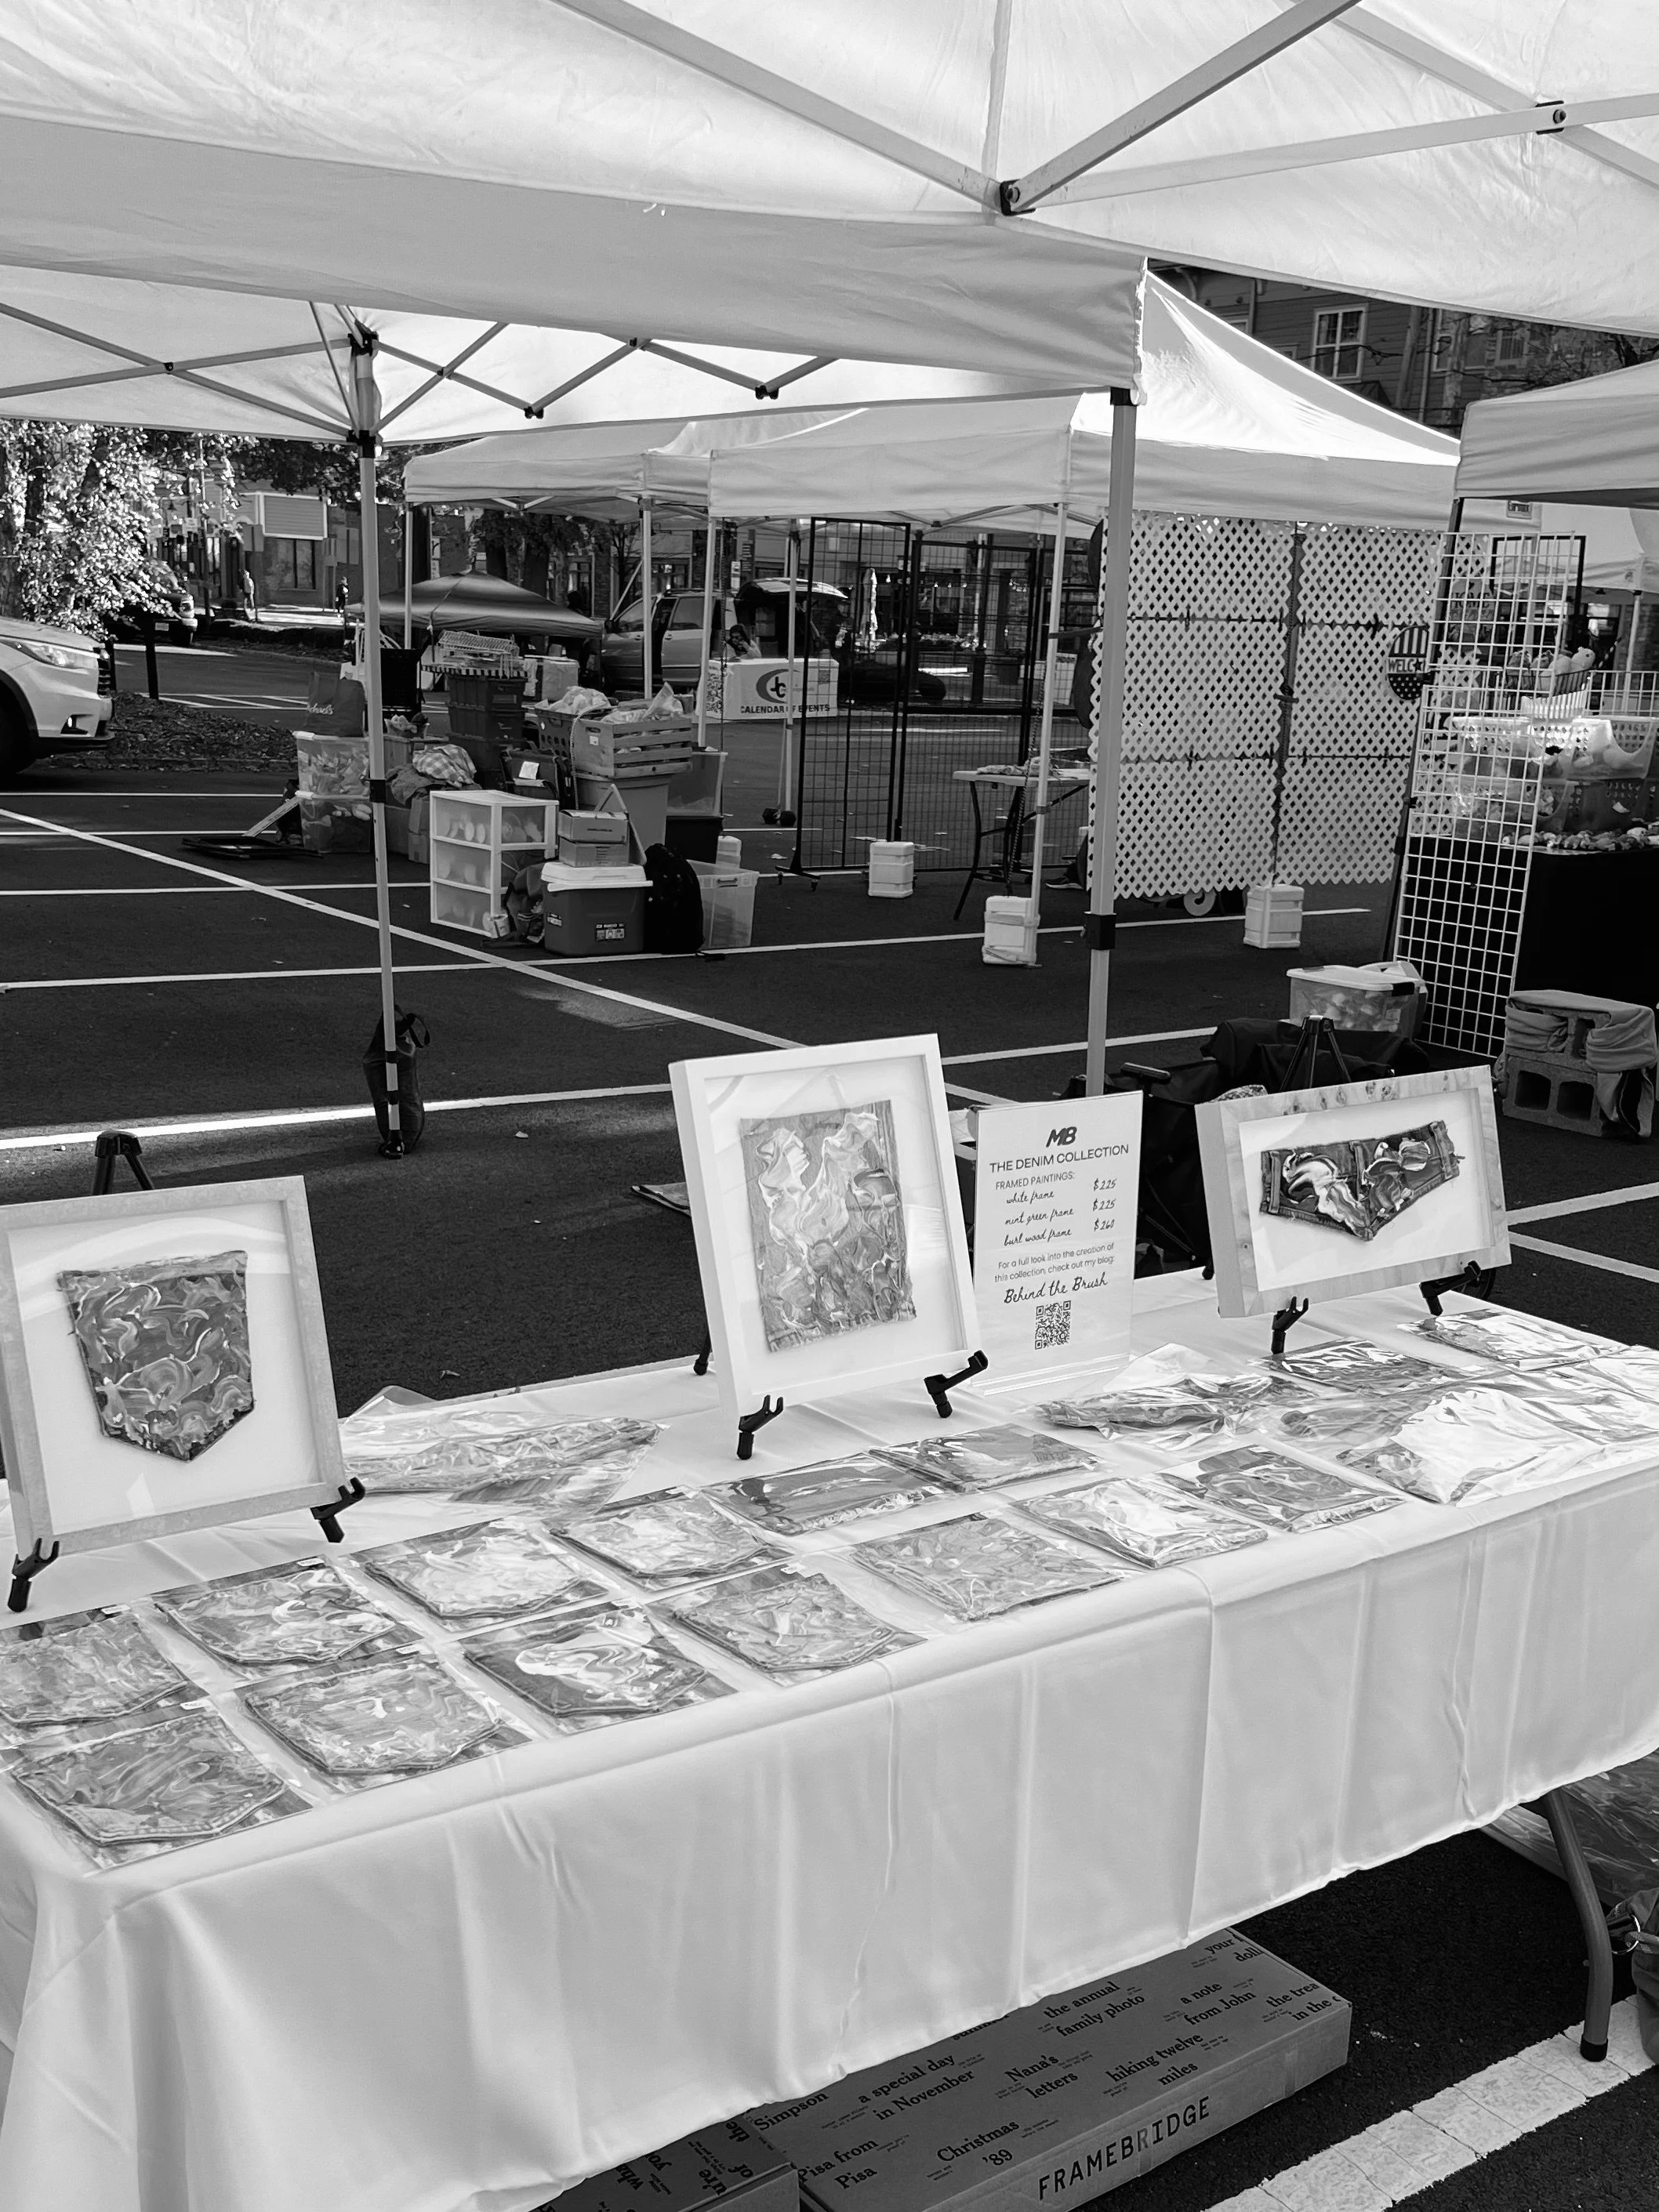
Luckily, back in August, I had already started testing out some prints of my denim collection pieces. Seeing these prints come to life so well definitely boosted my confidence in my work and I knew I wanted to grow my print offerings with them. I started by testing out some of my favorite denim pieces, as well as the framed ones to make sure I had a more budget friendly option for those paintings. With each order from my printer, I slowly tested more paintings and expanded from there.
To clarify what I mean by “testing,” I’d prep the files for printing and then order one print of the painting I wanted to test out. I like to do this to make sure I like how it’s printing, make sure the colors feel accurate, make sure the scale on the paper works, etc. My printer is in Florida, so I try to order multiple tests at once and with other stock to help bring costs down per print.
Choosing the quantity of how many of each print to order was a bit of a challenge. As I had never done a market or any in person selling before and still being in the early stages of building my business, I didn’t have any previous data to go off of to make this decision. So I decided to get ten of each print to keep things simple (of course this ended up being eleven for some since most of the test prints were good to go).
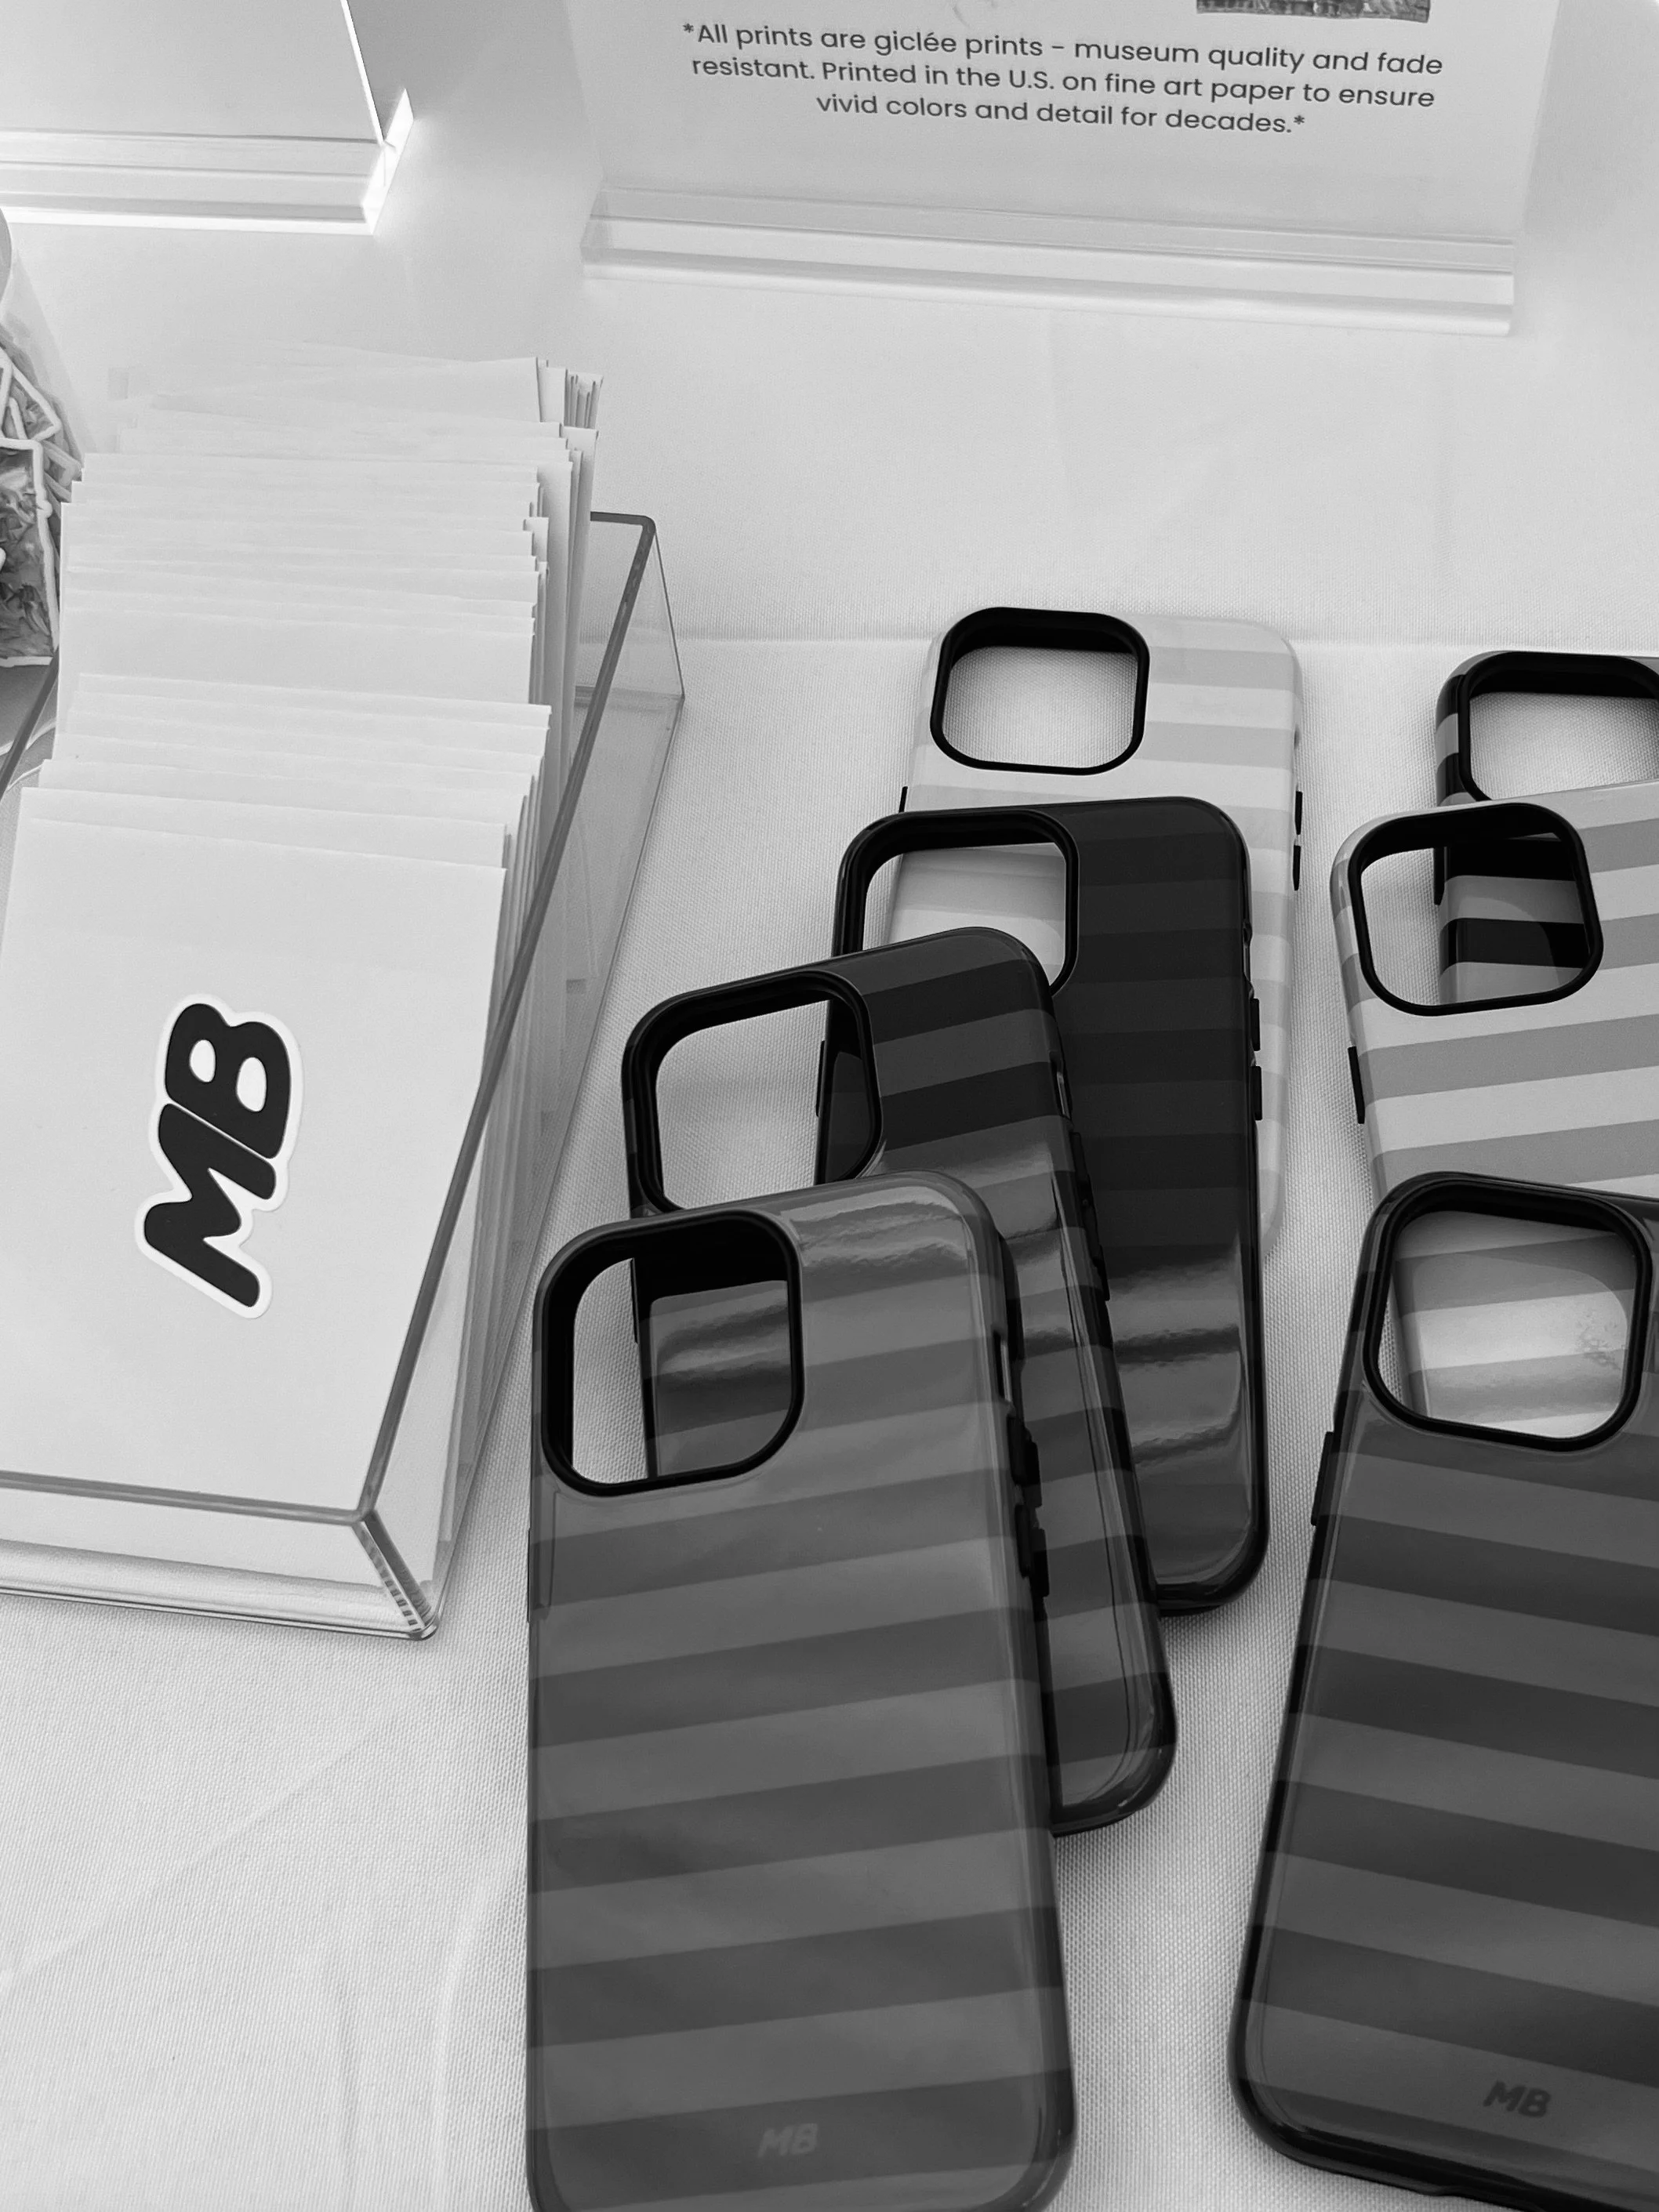
As prints arrived, I began packaging them up in batches (shoutout to my mom for helping with this). I’ve packaged some prints before so I already knew how I wanted to package them up and had some of this packaging already here. To give a step by step of how each print is packaged, I hand-sign each print with my signature and year, and then it’s added to a plastic sleeve for protection with a back board. Each back board is stamped with my branding and each sleeve is finished off with my logo sticker. This definitely ended up being time consuming so I totally understand why people order things to be pre-packaged for them (I just really want to be able to hand sign them all still).
I ended up ordering many more prints than originally I thought. As I researched more market opportunities, I knew I wanted to take advantage of the shopping that occurs at this time of year. I ended up signing up for two more in person markets as well as a month-long market where I don’t need to be in person and some art specific/gallery events. It’s definitely a bit stressful ordering and packaging all this product and having no idea if it will resonate with others and sell. But it’s encouraged me to put myself out there more and apply to opportunities I may not have done before.
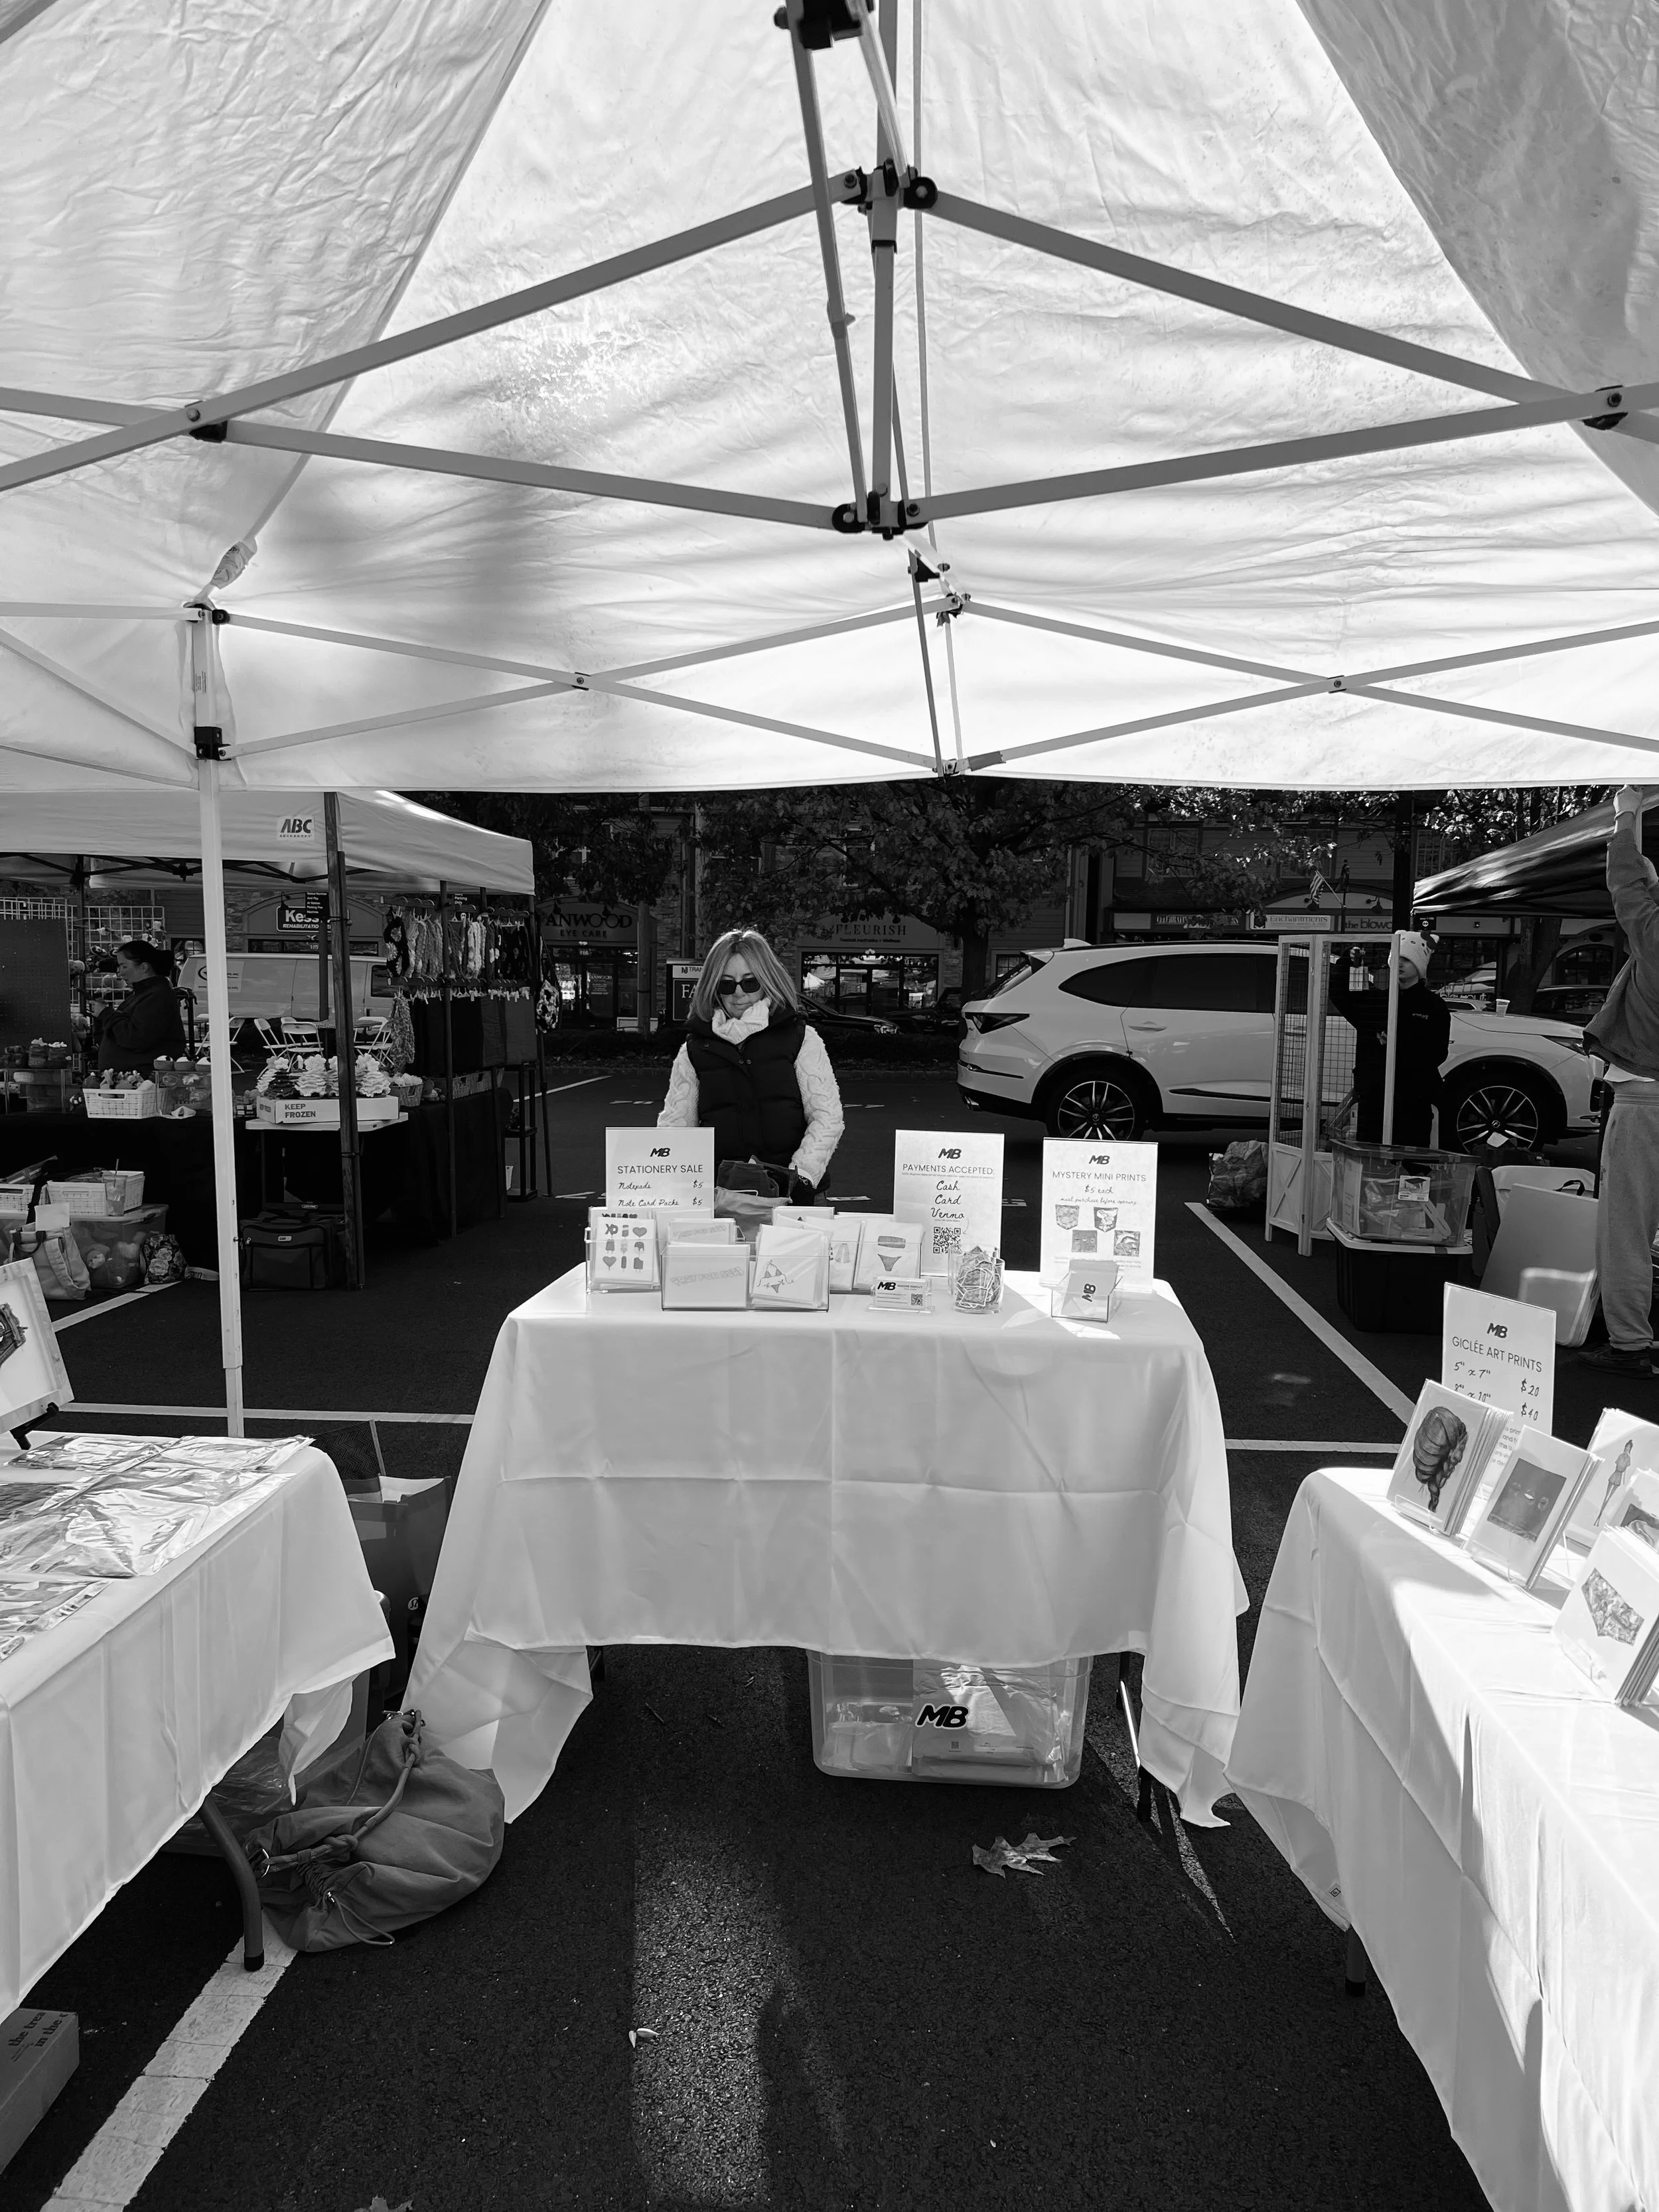
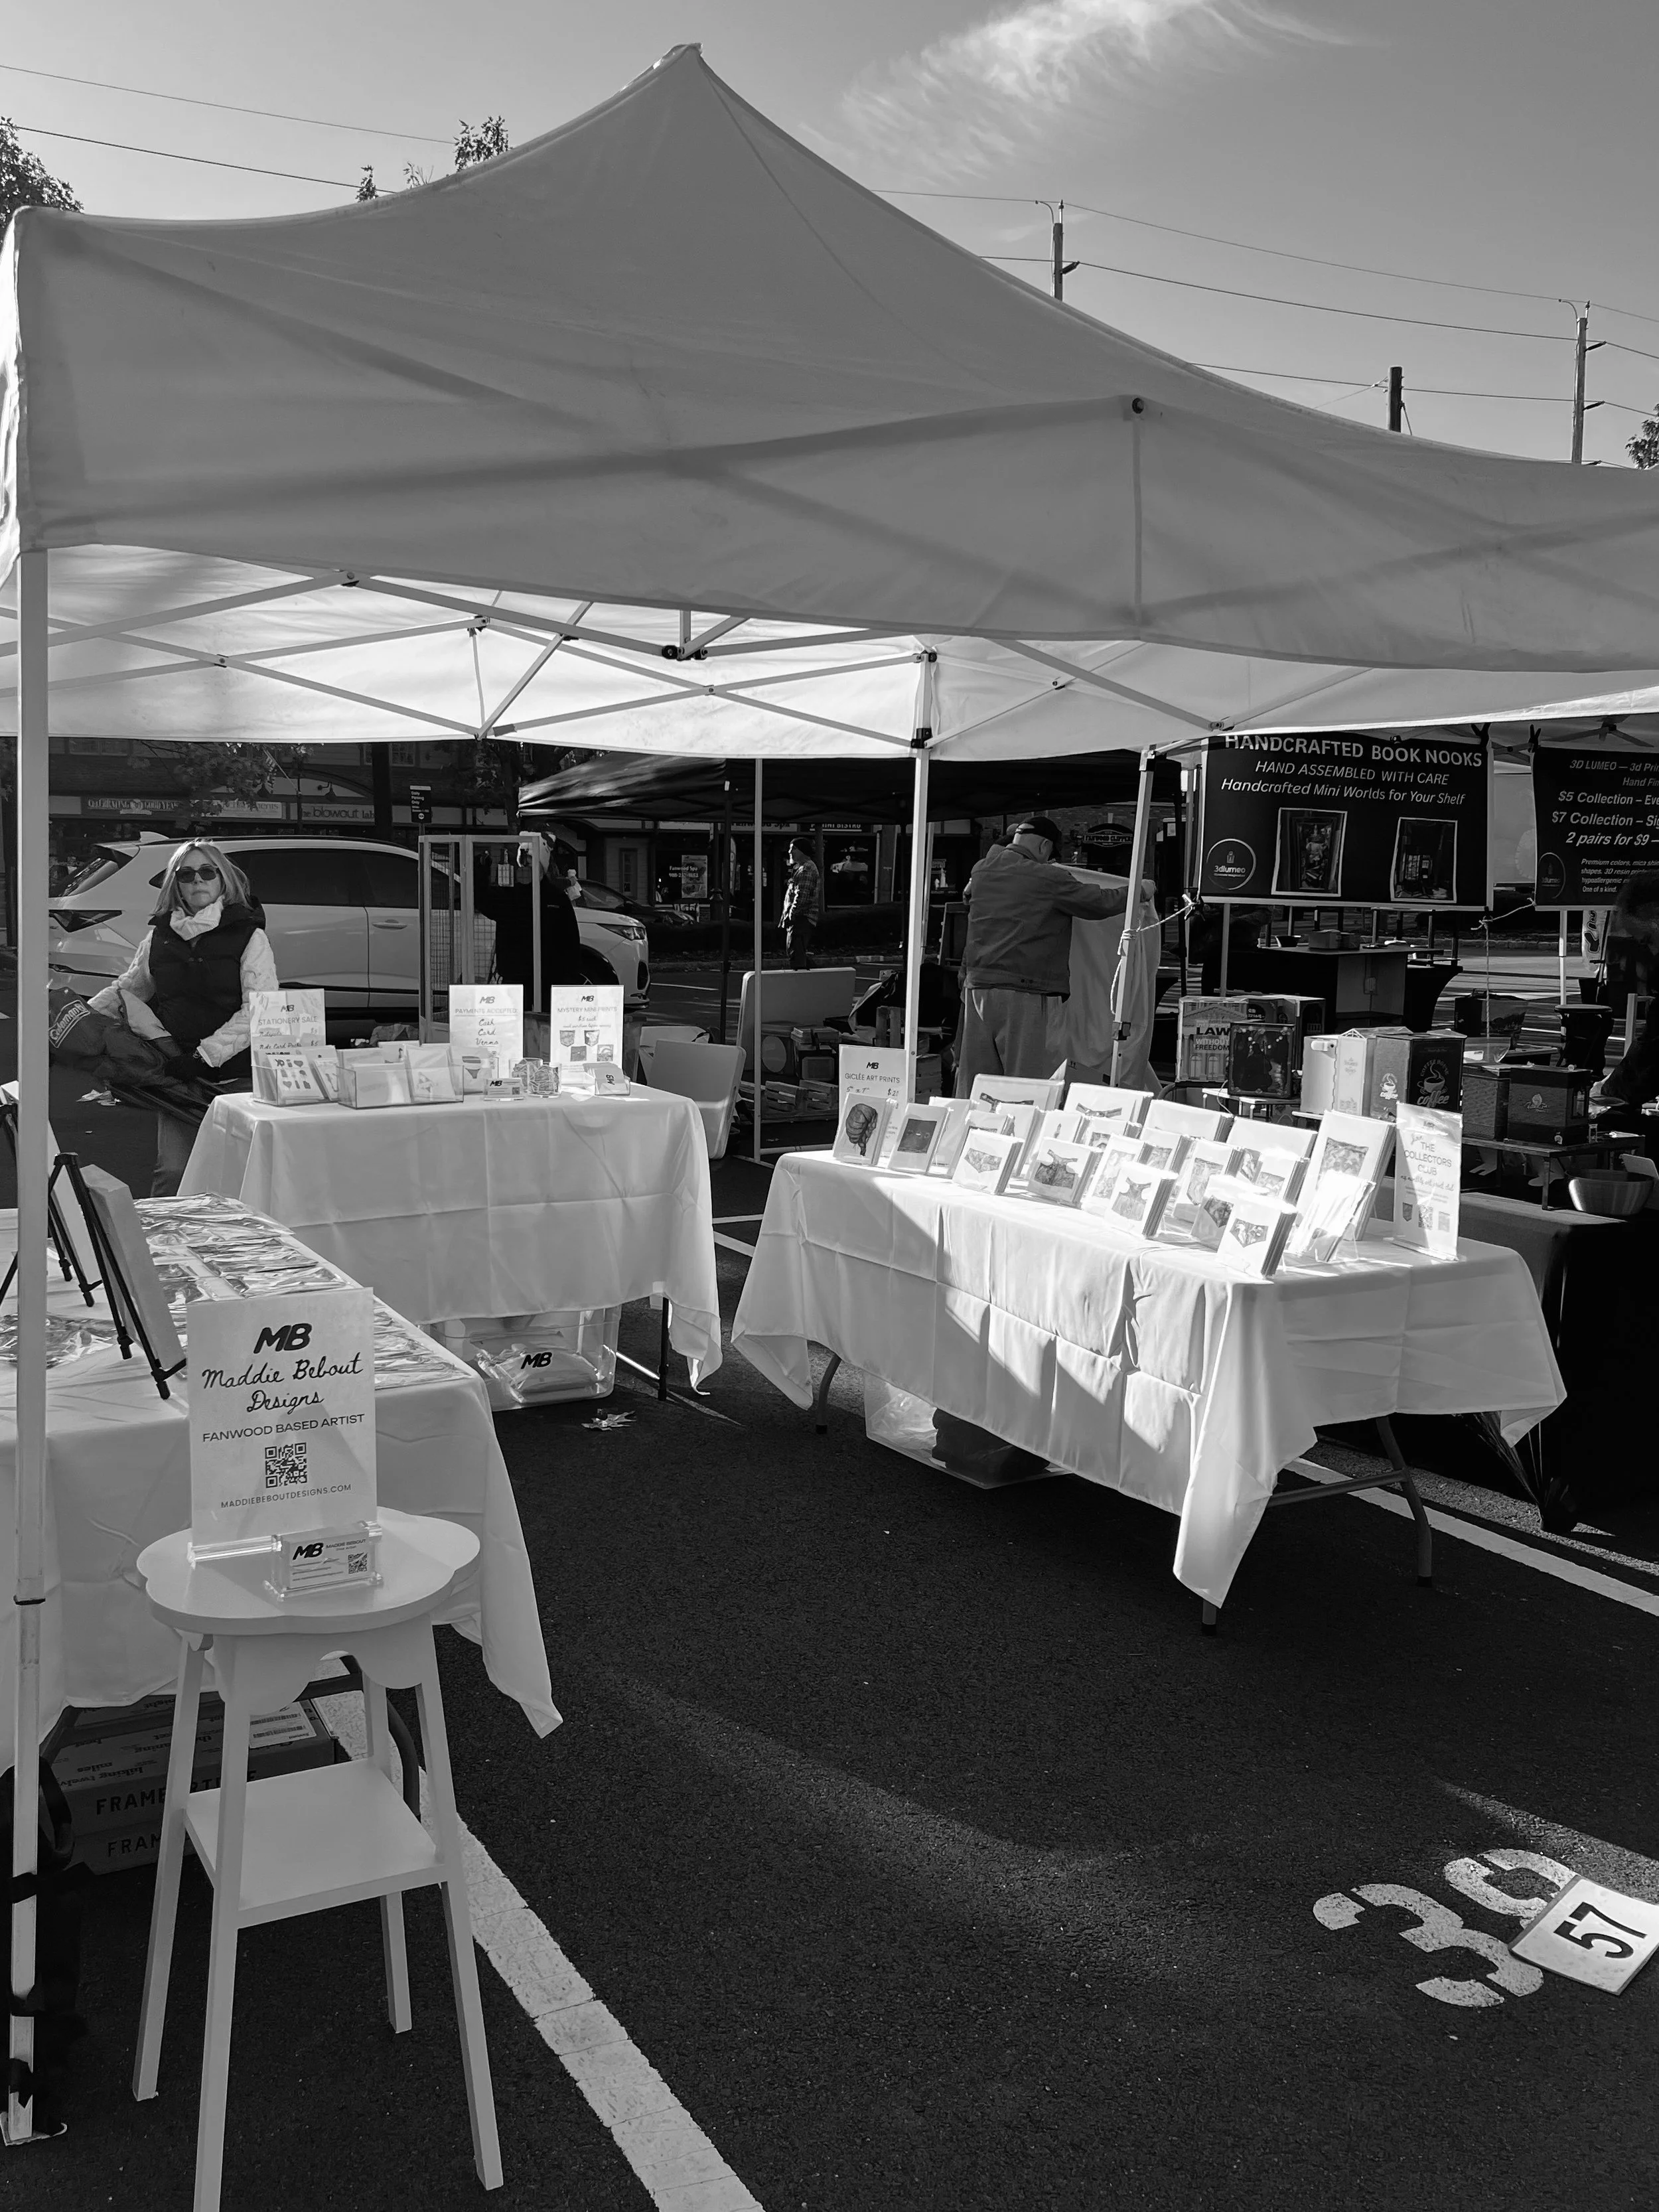
As prints were coming in and packaging was in full swing, it was time to figure out how to set my tables up. I did a lot of searching on social media to see how other artists, creators, small businesses all have set their tables up and what tips they might have. I searched around on Michael’s website and Amazon to see what my options were and ended up deciding on acrylic stands and containers. I felt like this was the easiest way to make everything look cohesive and not mess with the colors of any of my work. The stands I picked for prints worked out well so I continued to order more as I got more prints. In addition to my prints, I wanted to have some other offerings at all price points. I still had some stationery left over from earlier in the year, so I picked out some acrylic containers to have those displayed in. I also had leftover stickers from the first two months of my print club. That was the trickiest display to figure out as I knew I wanted a bowl of some sort, but wasn’t finding a great size option. I ended up going with two acrylic cylinder type bowls, which worked out fine, even though they were a bit big for the amount of stickers I had.
I’ve seen a lot of artists do mini print vending machines and people have loved the mystery aspect of it and the affordability and ease of collecting lots of small works of art. I wanted to put my own spin on it and decided to add mystery mini prints as another product to my offerings. My printer recently began offering mini prints that are the same giclée quality as my other prints. I picked out my four design options (although I had to replace one of the options as I didn’t love how small it came out) and found small seed envelopes that would fit the prints and keep them a mystery. I personally think these are so fun and could make a great stocking stuffer for the holidays (don’t worry, I’ll be adding any leftovers to my website after my next market). These all fit well in another one of my acrylic containers, making them easy to add to my set up.
I was very fortunate to have some friends and family let me borrow a tent and tables for my first market (my other markets are inside and tables are provided). This definitely allowed me to save several hundreds of dollars on my setup. My main splurge ended up being my card reader. Originally, I planned to bring some large paintings with me to sell. I ended up only bringing the framed pieces as far as more expensive items go, but I thought it would be best to have a credit card payment option for those more expensive items. Regardless, I was glad to have this. It made me feel very professional and I was able to keep my inventory updated automatically.
The last step of prep was practicing my set up. About a week before, we set up my three tables in our family room and took all of my product and table signs out to test out placement and make sure everything fit. I had seen others recommend this to make the day-of set up much smoother, and I’m so glad I did. I plan to do this again for my next two markets, as they are only a table each and have different target audiences.
Overall, prep was pretty intense, but it’ll definitely be less involved moving forward now that I have a lot of inventory and display containers and stands. I felt so supported by friends and family who were able to come check out my booth, so a big thank you to all those who showed up! And an even bigger thank you to my parents and brother for hanging out all day with me. Time to prep for my next event!